The Broadcast Room is a multi-user space designed for settings like classrooms, workshops, city council meetings, and training sessions — any situation where multiple people need to receive live translation simultaneously. Guests use their own devices to join the room and receive translation in any language they choose, from any location they choose. There is no limit to how many people or how many different languages join the room! During the session, the host controls microphone access, can see raised hands, and can grant or revoke speaking permissions for guests.
Broadcast/Multiparty Room

Room Description
When to Use Broadcast/Multi-Party Room
- Classroom setting
- Events such as workshops, commencement ceremonies, back to school night, presentations, etc.
- Team Training
- City Council Meetings
- Any time there is more than one person or more than one language that needs to receive translation at the same time.
How to Use the Broadcast/Multi-Party Room
Guests Joining the Room
- The guests will use their own devices in order to join the session.
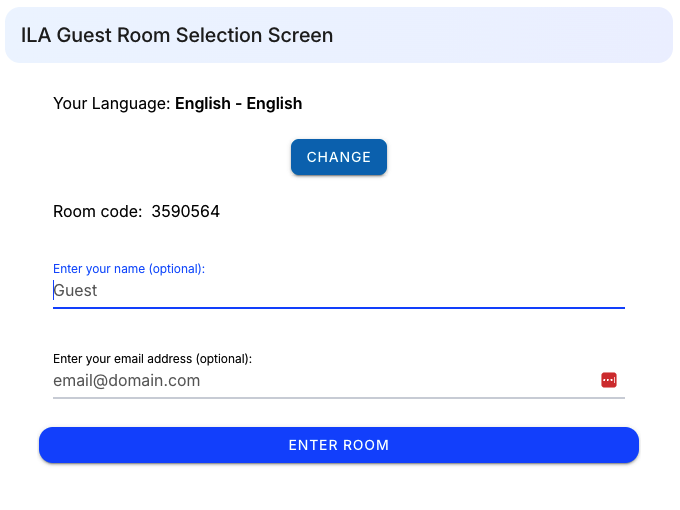
- Guest scans QR code on a phone or tablet or uses the weblink in any browser.
- Guest selects their language and dialect.
- Guest has an option to enter their name and email address.
Note: this information does not come to TranslateLive—it is just for you as the host. - Guest clicks the “Enter Room” button. They will then be put into a waiting room until the host starts the session.
- If guests are using their own headphones, these will need to be connected prior to joining a session so the ILA app recognizes the headphones and connects to them for translation.

Host Starting the Session
- You can see how many people are joining your room as the “Attendees” number for the Broadcast/Multi-Party Room counts up.
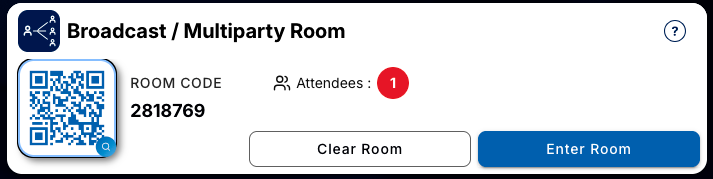
- You have the option to clear the room by clicking the “Clear Room” button. This will kick everyone out of the room and they will have to re-scan to join again.
- To start the session push the “Enter Room” button on the host screen under Broadcast Room.
- Everyone who has connected to the room and is waiting in the waiting room will automatically join the session.
- People can also join after you have started the session. Please note they will not see anything previously said— they will start fresh from the time they join.
Step by Step
Microphones
- Once in the room you can use the large red microphone or the smaller “always on” microphone.
- To use the large red microphone, hold down the button while talking.
- To use the smaller microphone, click it once to activate the microphone. It will remain on, translating the whole time, until you click it again to turn it off.

Guests Raising Hands
- In the bottom left corner for your guests, they will see a hand icon. When guests press this button it turns green, showing they have pressed it.
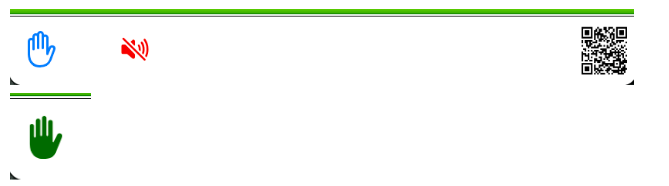
- On the host side, you will see a section titled “Raised Hands.” There is a counter that will increase each time someone raises their hand.

- If you do not already have “Raised Hands” automatically enabled in your Settings, and you want your guests to now be able to raise their hands, you can push the “Allow Raising Hands” button.

Giving Permission to Speak
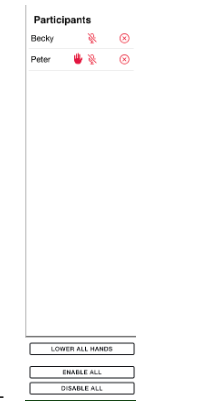
- Click the “View” button at the left corner to see a list of all of your guests
- If guests have put their name in when joining, their name will display. Otherwise, they will show up as “Guest”.
- When a guest has raised their hand you will see a red hand icon next to their name.
- To give them a microphone, click the microphone icon next to their name.
- To disable the microphone, just click the microphone again.
- You can give everyone permission to speak at the same time by clicking the “Enable All” button.
- Note: only one person may use their microphone to speak at a time.
- The “Disable All” button takes the microphone away from all guests.
- The “Lower All Hands” button removes all raised hands, making it a fresh start for people to once again raise their hands.
Ending a Session
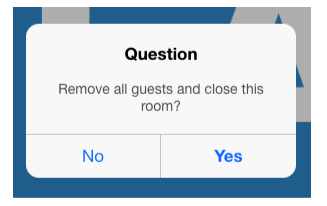
- End a session by clicking the blue “End” button in the top right corner of the screen.

- Confirm that you would like to end the session. This will kick everyone out of the room and clear the conversation.
Best Practices
Settings configuration
- Guests can use their own ear buds or headphones in order to hear the translation.
- The speaker icon, to the left of the large red microphone button, needs to be green in order to speak the translation out loud.

-
- If you do not want the translation to be spoken out loud, and you instead need your guests to follow along by simply reading the translation, that speaker icon needs to be red with a line through it.

- To set a default setting for the Text-to-Speech for your guests go to Settings > Rooms > Broadcast Room Settings > Toggle the “Text to Speech On by Default” button.
- This will make it so the translation for your guest is spoken out loud by default.
Using a Microphone
- It is helpful to use a microphone in the Broadcast Room to help focus in on the speaker’s voice and lower background noise interference.
- You can use a bluetooth microphone or connect through your sound system. Check out our approved accessories list to see great options!
