
The Single User Room is designed for quick, one-on-one conversations — ideal for emergency situations, interactions with young children, or when a guest doesn’t have their own device or needs extra assistance. Unlike the 1 on 1 Room, the host manages both microphones from a single screen (the host screen), holding down the left microphone when speaking and the right microphone when the guest speaks.
Single Device Room

Room Description
When to Use the Single Device Room
- Out in the field for quick conversations such as an emergency situation.
- When speaking with a young child who is unable to use the device on their own.
- When the guest is unable to physically press their own button.
- If someone is having a difficult time navigating the guest side or does not have their own device to use as the guest.
- If you only want to carry the host tablet rather than the set of tablets on the stand to make for a lighter load when on the go.
How to Start a Session
- Select the Guest Language by clicking on the language drop-down. The session will automatically begin after selecting a language.
- If the language you need is already selected, push “Enter Room” to start the session.
Step by Step
- You will see both microphones on the host screen. The host microphone is on the left, the guest microphone is on the right.
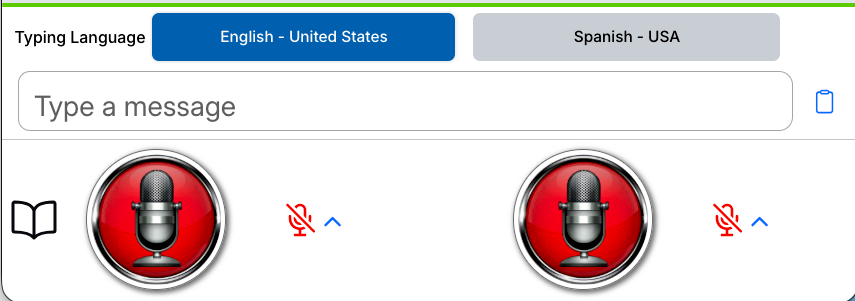
- When the host is speaking, hold down the big red microphone button. Release when done talking to send the translation through.
- When the guest needs to speak, hold down the microphone on the right.
Ending a Session
- End a session by clicking the blue “End” button in the top right corner of the screen.

Best Practices
- If the guest needs to read the translation rather than just hear the translation, be sure to place the host screen where the guest can see it.
- Be sure to adjust microphone sensitivity according to the amount of background noise around you, turning down the sensitivity if experiencing a lot of noise.
